

Showing posts with label adobe illustrator. Show all posts
Showing posts with label adobe illustrator. Show all posts
Wednesday, October 19, 2011
Wonder of Pathfinder
In the past year I have discovered the wonder of the pathfinder tool. I can not pin point when I discovered how wonderful it was, but I am sure I found it by accident. It typically saves me at 3 steps compared to what I used to do before.Software is constantly changing (thanks Adobe for my empty wallet). Pathfinder tool enables to me to create unique vector illustrations. I included a quick illustration that uses my favorite tool:


Wednesday, June 29, 2011
Tutorial 1.Halftone
A couple weeks ago I promised to start putting tutorials on my blog. Here is my first project for you to try.
A Halftone Vector Shape.
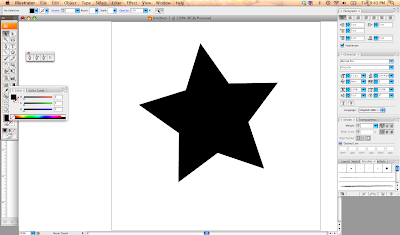 |
| Step 1: Make a shape. Any Shape. |

 |
| Step 2: Give that shape a gradient. I am using a radial gradient for this tutorial. |
 |
| Step 3: Go to Effects in your tool bar and select Sketch: Halftone Pattern. |
 |
| Step 4: Adjust your size and contrast to what you are happy with. I prefer my contrast high, so that the dots get better separation. |
 |
| Step 5: Rasterize the shape. Then go to Object : Trace : Tracing Options |
 |
| Step 6: Adjust your tracing options, until you like the appearance (I always check the preview box so I can see my adjustments before I make a commitment. Trace & Expand the Appearance (so that it all become outlines) |
 |
| Step 7: Select all the white areas, and delete. This way you are only left with the black. |
 | ||||
| Step 8: Now that we have the halftone pattern shape as a vector, we can make any size and color. |
Please let me know how this tutorial went (it is my first and I am learning at doing this myself, so if anyone else has some helpful hints please leave a comment below). Also if you would like to see more tutorials or a tutorial for a particular project in mind just let me know! I tried to be clear in my directions, but if anything was confusing or needs definitions please let me know.
Thanks.
Subscribe to:
Posts (Atom)